 When it comes to holiday decorating, Halloween is often a favorite time of year for many people. For whatever reason, we enjoy things that creep, lurk and bump in the night--so incorporating a bit of that into your home decor is exciting and of course, fun!
As the weather cools down, indoor crafting is a great way to spend an afternoon with your kids--or even on your own. Check out these DIY Halloween projects for some simple holiday decor!
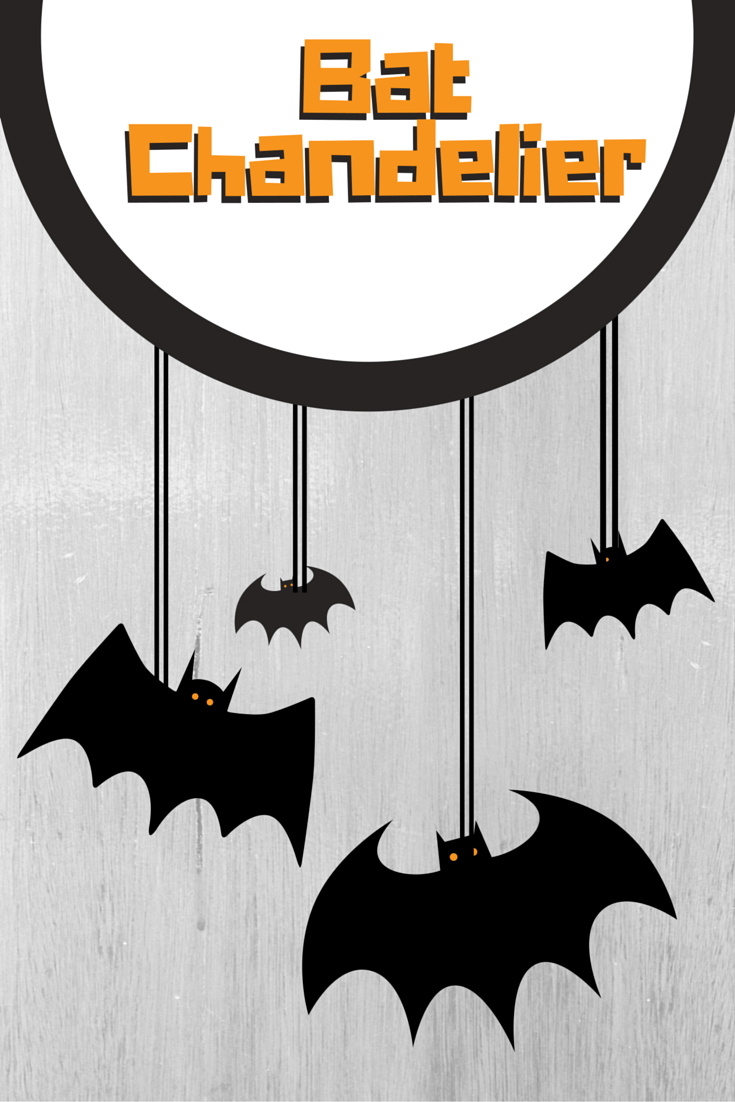
Hanging bat chandelier
What you’ll need:
- Three embroidery hoops
- Black construction paper
- Black thread, fishing line or string
- Bat-shaped cookie cutter (if you have one)
- Black paint (optional)
Directions:
If you’d like, you can paint the embroidery hoops black--but it’s not necessary. If you decide to paint them black, this should be your first step to allow them to dry.
While the hoops are drying, you’ll need to draw or trace the outline of a simple bat shape, which is where a bat cookie cutter could come in handy. If you don’t have one, it’s no big deal--you can easily draw one. Once you’ve drawn or traced a few bats of varying sizes, cut them out.
To assemble the chandelier, cut a few lengths of string and tie the embroidery hoops so that they hang a few inches away from each other. If you bought embroidery hoops of varying sizes, the smaller hoops should be on the lower end. Once you have the embroidery hoops, you can begin to hang the bats! When all your bats are in place, all that’s left to do is hang them and stand back to admire the spookiness!
Hanging ghosts

What you’ll need:
- Polystyrene foam balls
- Black marker
- Cheese cloth
- Scissors
- String
- Small eye screws (one per ghost)
Directions:The first thing to do is use the black marker to draw and color in some spooky eyes on the foam balls. Then, you can grab the cheese cloth and cut it to your desired length - remember, these ghosts will be hanging from your porch/ceiling/trees, so the length is entirely up to you--but it should hang over the foam ball with enough cloth to cut and tatter for a truly ghoulish look.
When you've cut the cheese cloth to an appropriate length, position the cloth on the top of the foam ball so that it hangs evenly across the front and back before ripping and tearing the bottom. Grab one of the small eye screws and screw it directly into the top of the foam ball through the layer of cloth. Then all that's left is to thread some string through the eye and hang them around your home or front yard!