Installing kitchen countertops can be a daunting task but is a great way to remodel your kitchen. If not done correctly, it can lead to costly repairs. That's why it's important to be fully educated on how to install your specific type.
First, decide what kind of countertop you would want. In this guide, you'll be shown how to install laminate, tile, stainless steel and stone slab countertops.
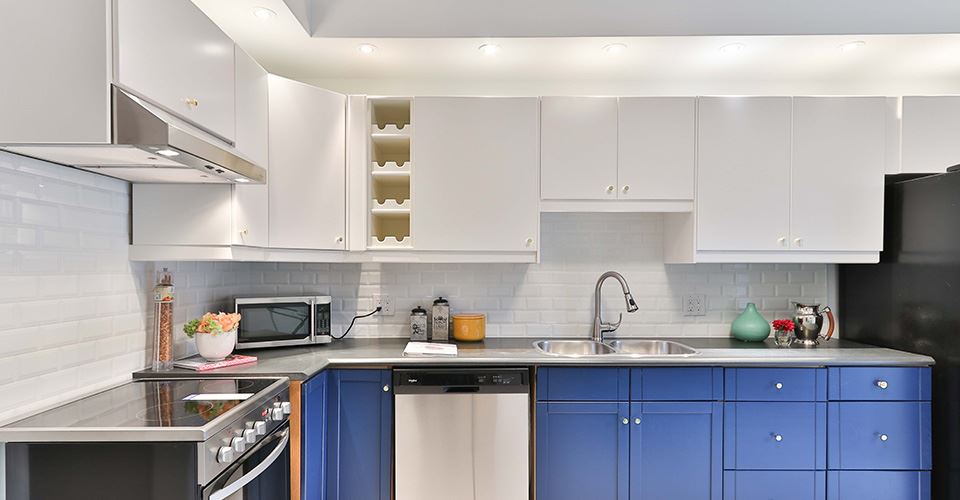
Installing laminate countertops
The first thing you need to do is look at the area you are installing the countertops in. Is it against a wall? Against cabinets? Around a corner? A straight countertop is the easiest to install, since it requires the least amount of cutting. If you need to fit it around a corner, think about getting some professional help.
- Measure the area of the base cabinets you're installing the counter on top of. Add however much overhang you want to the measurements (one inch is standard). Use masking tape over the lines you want to cut, and draw the lines themselves on the masking tape (this prevents chipping from the saw). Make your cuts with a table saw.
- Not all walls are going to be plumb. If you are installing the countertop against a wall, you'll need a scriber's compass to make the necessary markings for sanding. Set the countertop as close against the wall as you can. Open the compass a little bit, run one of the legs against the wall and the other one on top of the edge of the countertop before marking the line you need to cut. Use a belt sander to remove the excess.
- Attaching the countertop simply requires some carpenter's glue and dry wall screws. If the countertop is going to replace the one around your sink, you'll need to remove that first. If there are large gaps between portions of the countertop and the base cabinets, use wood shims to keep the countertops from warping or cracking later on. Apply a bead of carpenter's glue to the tops of the base cabinets and set the countertop where you want it to go. From below, use the drywall screws to attach it to the base.
TIP: The manufacturer of your countertops will provide you with any other necessary hardware and instructions you need.
Installing tile countertops
The tiles will need a backing, and you have a few options to choose from. You can pretty easily install tile over your old laminate counters. On the other hand, if you want a new surface to work with, you can cut plywood or backer-board to fit over your cabinets.
Before you go about setting the tile, you need to lay it out to make sure it will fit correctly. If you're tiling around a sink, start there. Locate and mark the center point of the sink. If you don't need to worry about a sink, start at the center point of the countertop. Lay the tiles out starting at this center point.
Remember that there needs to be space between tiles. There are a few ways to maintain consistent grout lines. You can draw in the lines on the surface of the countertop as you lay out the tiles. Some tiles are made with spacing lugs that you can but up against each other, helping you to create straight grout lines. Otherwise, you can purchase tiles that are pre-mounted on plastic grids.
- Mix together some tile adhesive; you want enough for about 30 minutes of work -- any more will dry before you get to it. Start with the edge tiles. Spread some adhesive on the back of each tile and push it into place. This part of the job can be made a little easier by using "V-cap" tiles; these are specially made edge and corner tiles.
- Next, set all of your full tiles (also known as "field" tiles). Spread adhesive evenly over the field of the countertop. Then, lay the tiles into place, being careful to align them with the edge tiles.
- The perimeter tiles will be next; these are the tiles that go around the sink or other elements. With the other tiles in place, it will be easier to lay these in place before measuring and cutting them. Spread adhesive evenly around the sink or other element, and lay the cut tiles in their places.
- Installing backsplash tiles is good way to finish off this project. Backsplash will look nice and will protect your walls from spills and splatters. Whether you want to do a single row or go further up the wall, just make sure you maintain your grout lines.
There are various grout colors and types to choose from. Go to your local home improvement store, and pick out something you think will go with your tiles. Use a grout float to spread grout over a section of tile. Push the grout diagonally across the tiles; this will force the grout into the gaps between tiles. Scrape the excess grout off the tile with the grout float. There will still be some grout left, so use a damp sponge to clean it up. Then run the sponge along the grout lines, smoothing the grout.
Inside corners, say between the backsplash and the countertop, and tile around fixtures should be caulked. Do this after the grout has dried. You can then finish your tiling job by sealing the tile and grout with a tile sealer.
Installing stainless steel countertops
If you're replacing old countertops, the first step will obviously be to remove them.
- After measuring and cutting the new countertops to size, dry fit them to make sure everything fits correctly. Make any adjustments that are needed.
- Next, measure the hole for the sink. Lay the sink upside down where it will go on the counter, and mark around it. Then, measure the sinks lip and make another mark that distance inside the first mark. So, if the lip is an inch wide, measure in one inch all the way around the traced line. Cut along this line. Use a drill with a spade bit to make the starter hole. Then, cut along the line with a jigsaw.
- Now you can put the countertops in place. Put a bead of construction adhesive on the top edge of the cabinets, and set the countertops in place. Allow the adhesive to dry (the adhesive container should tell you about how long).
Installing stone slab countertops
One of the more expensive countertop options, stone-slab types (granite, marble, slate, quartz) are becoming increasingly popular. This is due mostly to their durability and unique look. Ask friends or family that have had stone countertops put in their homes if they'd be willing to give you referrals.
Talk with contractors about your options or to set up an appointment to do so in person. If you're less sure about what you want, browse your options online and talk with manufacturers or home improvement store employees about what might be a match for your home.
Once you know what you want and whom you're going with, you can take measurements (your manufacturer may want to do this) and have your countertops made.
- Get help if you plan to install the countertops on your own. These types of countertops are especially heavy, so moving them around on your own could be dangerous or even impossible.
- Remove the old countertops. Do this carefully, making sure you don't damage the cabinets underneath.
- Next, do a dry run with your new countertops. You don't want to get them glued in place only to realize they don't fit right. Before you get to gluing the countertops, add the backsplash, making sure it fits snugly against the wall.
- Use clear, silicone adhesive to glue the countertops in place; anything else could discolor your countertops (light cultured marble being particularly vulnerable). Remember to clean the dust off of the countertops, using rubbing alcohol, just before applying the glue. Clean up any excess adhesive after the countertops are in place.
Then, all you have to do is let the adhesive dry (for at least eight hours), and your new countertops will be ready for use!