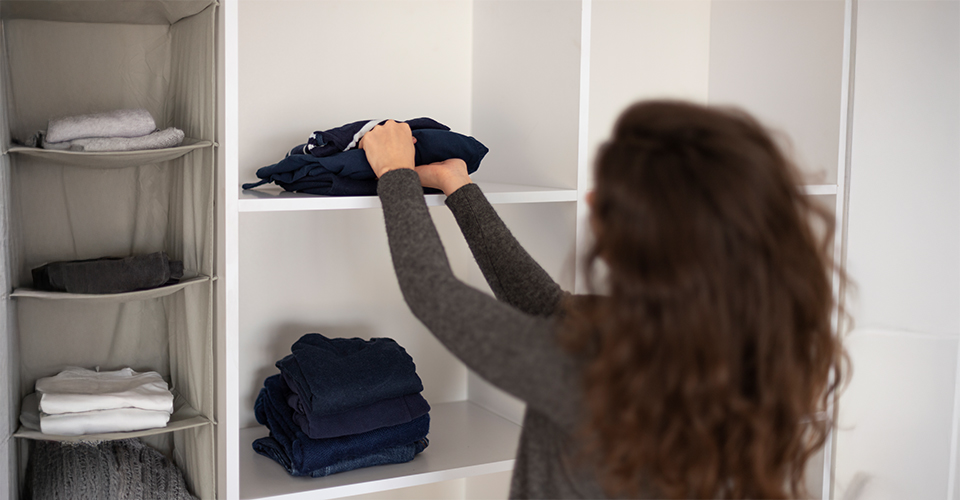
 Perhaps you need more storage space for your clothes, or you might just want to be better organized. Upgrading your closet by adding new shelves or a bar to hang clothes on is a good solution to either problem. This guide will tell you how to do both.
Installing Shelves
There are many different methods for installing shelves, from creating custom shelves to buying prefabricated shelving. The latter option is by far the easiest method. All you need to do is buy a shelving kit and install it in your closet according to the manufacturers instructions. Making custom shelves involves a lot more: measuring, cutting, finishing, mounting etc. Here we’ll focus on something that’s a little bit in between: installing wooden shelving with premade shelving mounts.
The best method is to mount shelving channels, which run vertically along studs. Shelf supports hook into these channels, and the shelves rest on the supports. These have the added benefit of allowing you to move the shelf supports up and down on the shelving channels, meaning you can adjust the shelves to different heights as necessity dictates.
Installation is pretty simple. First, locate the studs in your closet and mark them with a pencil. Decide where and how long you want your shelves to be. You should be able to purchase wood for your shelves at a local hardware store. Cut the shelves to the length you chose and put them aside. Next, mount the shelving channels.
Where to put them and how many you need, will depend on the location of the studs and how long the shelves will be. Use your judgment here. For longer shelves you might want three channels (and therefore, three supports), while shorter shelves may only need two. Just make sure each shelf will have enough support to hold the weight of whatever it is you planning on putting on it.
Then, all you have to do is put the shelf supports into place in the channels and screw the shelves in on top of them. You can play around with the height of each shelf until you get a good fit for your stuff. Remember; you can always adjust them again in the future.
Installing a Closet Pole
If you thought installing shelves was easy, you’ll love this next part. To install a closet pole, you’ll need to hang two brackets on opposite walls (into studs or using anchors) ,and simply lay the pole in place in between the two brackets. The only tricky part is making sure the brackets are exactly opposite each other. Otherwise, the clothes you hang on the pole will all slide to one side.
This problem can be easily avoided, though, using a level and setting each bracket at the exact same distance from the front of the closet. Install the first bracket and have someone hold the pole in place. Make sure it’s level and mark the spot where the second bracket should go. Install the second bracket, put the pole in place, and you’re ready to go.
Just like that, you’ve got loads of new storage space!